
how to make dosa crispy thin easy comes down to three controllable things: batter texture, pan heat, and how you spread and cook the crepe.
If you’ve tried dosa at home and ended up with a thick, pale pancake or a crepe that turns soft the second it hits the plate, you’re not alone. In most kitchens, the “dosa problem” is not talent, it’s small process misses that compound fast.
This guide keeps it practical, with quick checks, a few batter and pan adjustments, and a repeatable rhythm you can use on a busy weeknight. You’ll also see what to do when the batter sticks, when it won’t brown, or when it gets crisp then goes chewy.
What “thin and crispy” actually means (and what it doesn’t)
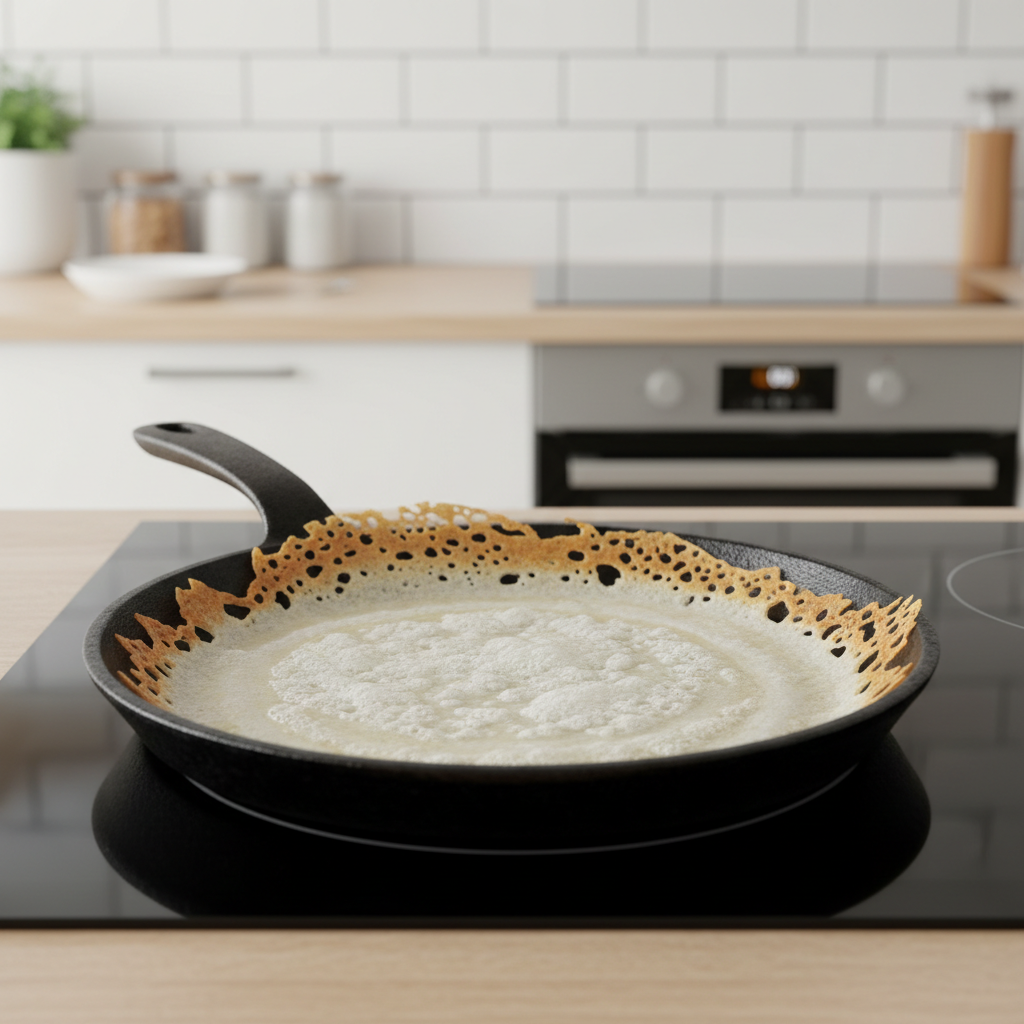
A great thin dosa is a cooked batter film that turns dry and rigid, with browned spots and crisp edges, while the center stays cooked through. That crispness is mostly moisture leaving the crepe, plus browning where the pan makes strong contact.
Two common misunderstandings slow people down. One is assuming you need a super-hot pan at all times, which often causes sticking and tearing. The other is forcing crispness with extra oil, which can fry the surface but still leave the dosa thick and bready.
- Thin comes from batter consistency and spreading technique, not from pressing harder.
- Crispy comes from correct heat and enough cook time to drive off moisture, not from rushing the flip.
Why your dosa turns thick, soft, or fragile
Most failures trace back to a few repeat culprits that show up differently depending on your pan and batter. Fixing the right one saves a lot of “try again” frustration.
Batter is too thick or unevenly fermented
Thick batter spreads like paste, so the dosa cooks like a pancake. If fermentation is weak, you often get less bubbling and less lift, and the crepe can feel dense.
Pan temperature is off (usually too hot at the wrong moment)
If the pan is screaming hot when batter hits, the bottom sets instantly, your ladle drags, and the dosa tears. If it’s too cool, the batter sits, stays wet, and turns pale and soft.
Pan surface and seasoning problems
Nonstick pans are forgiving but sometimes struggle to brown deeply. Cast iron and carbon steel can be fantastic, but only if they’re properly seasoned and used consistently for dosa.
Too much water, steam, or cover time
Covering traps steam. Steam softens crisp dosas fast, especially in humid kitchens or when you stack them on a plate without airflow.
Quick self-check: figure out what you need to change
Before you adjust everything, run this quick diagnosis. You’ll usually find one or two obvious fixes.
- Batter won’t spread and tears: pan too hot, batter too thick, or pan not conditioned.
- Dosa spreads but stays pale: pan too cool, not enough contact, or batter too thin and wet.
- Crisps in the pan but softens fast: undercooked moisture, too much steam, stacking too soon.
- Sticks even with oil: pan seasoning issue, or you’re trying to spread on a pan that’s too hot.
- Edges crisp but center gummy: batter spread uneven, center too thick, or heat too high early.
The core method: how to make dosa crispy thin easy (step-by-step)
This is the repeatable home method that works with most fermented dosa batters, including many store-bought options. The goal is consistency more than perfection.
1) Get batter to a “pourable but not watery” texture
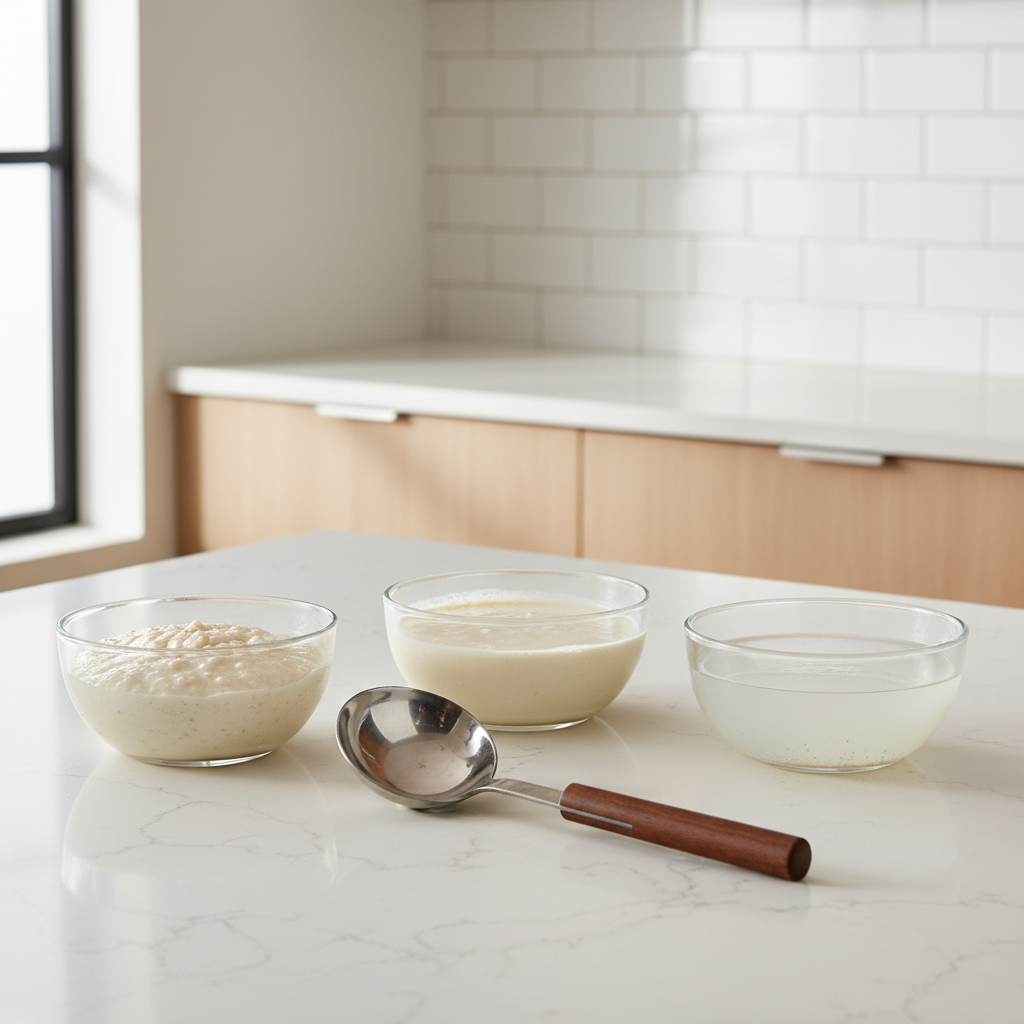
You want batter that flows off a ladle in a steady ribbon, then levels out within a second or two. If it plops, add water a tablespoon at a time and mix well. If it runs like milk, you may need to rest it a bit, or add a small amount of rice flour to bring body back, changes vary by batter base.
- Tip: Mix batter gently but thoroughly, so rice solids are evenly suspended.
- Salt timing: Many home cooks salt after fermentation; practices vary, and either can work depending on your starter and room temp.
2) Preheat the pan, then cool it slightly before spreading
This sounds weird until you see it work. Heat the skillet to medium-high, then wipe with a lightly oiled paper towel. Right before spreading, reduce heat a touch or splash a few drops of water to calm the surface, you want a lively sizzle, not instant evaporation fury.
According to USDA, food safety basics still matter in home kitchens, so avoid leaving batter at room temperature for long stretches and keep work surfaces clean when dealing with fermented batters.
3) Ladle, spread fast, and stop touching it
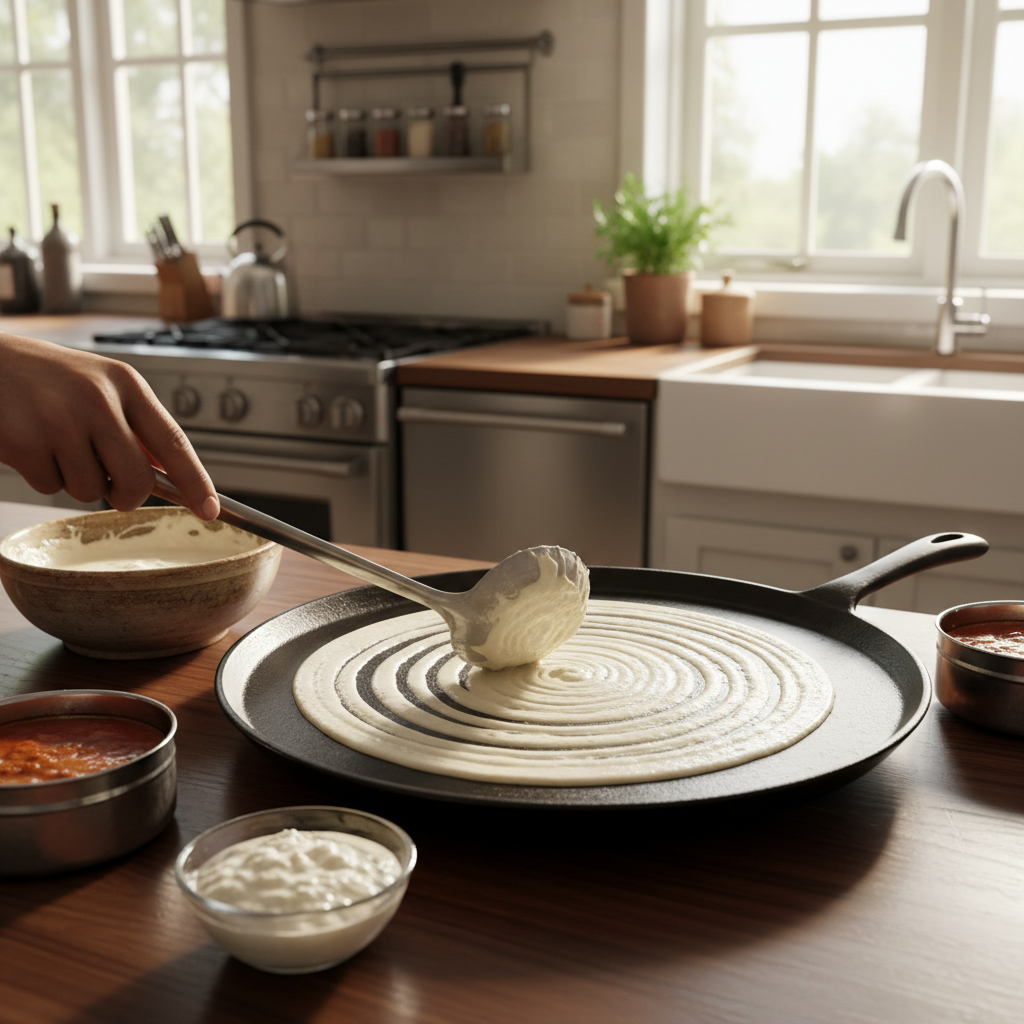
Pour a ladle in the center and spiral outward with a light touch. The dosa gets thinner from speed and a consistent spiral, not from pressure. If you keep “fixing” it, you’ll tear holes and create thick patches.
- If it drags: pan too hot or batter too thick.
- If it puddles: pan too cool or batter too thin.
4) Add oil at the right time for crisp edges
Once the surface loses its wet shine and tiny holes appear, drizzle a small amount of oil or ghee around the edges and a few drops across the top. You’re helping separation and browning, not deep-frying.
5) Cook until edges lift and the center looks dry
For classic thin crispy dosa, you often don’t need to flip. Wait until the edges release easily and the center looks set and matte. If you lift too early, steam stays trapped and the dosa bends instead of snapping.
Small adjustments that make a big difference (with a practical table)
These tweaks are what most people end up doing after a few sessions anyway, it helps to see them mapped to symptoms.
| Problem | Likely cause | What to do next batch |
|---|---|---|
| Dosa thick and bready | Batter too thick, spreading too slow | Thin batter slightly, preheat better, spread in one confident spiral |
| Sticks and tears | Pan too hot or poorly seasoned | Lower heat before spreading, re-season pan, use a dedicated dosa skillet |
| Pale and soft | Pan too cool or batter too wet | Increase heat a notch, reduce added water, extend cook time |
| Crispy then turns chewy | Under-dried center, steam/stacking | Cook longer until matte, serve on a rack or single layer |
| Holes everywhere, breaks | Over-fermented or too thin | Use sooner, chill batter, add a bit of rice flour, spread gently |
Pan and tools: what matters in an American kitchen
You can absolutely learn how to make dosa crispy thin easy without specialty gear, but the pan choice changes your margin for error.
Nonstick skillet
Great for beginners and low-stick stress, especially if your batter is finicky. Browning can be lighter, so plan on slightly longer cooking and a little patience before lifting.
Cast iron or carbon steel (tawa-style works well)
These can deliver restaurant-like crispness, but only when seasoning is stable. If you cook eggs or sugary sauces in the same pan, the surface can behave unpredictably for dosa.
- Helpful habit: keep one pan mostly for dosa and crepes, wipe clean, and lightly oil after use.
- Spreader option: a ladle works fine, a flat-bottom steel ladle often spreads more evenly.
Common mistakes and fixes (so you don’t waste a whole batch)
Some mistakes look harmless, but they lock you into soft, thick results. The good news, most are easy to correct mid-session.
- Keeping heat maxed the whole time: adjust between dosas, many pans need a small cool-down before each spread.
- Over-oiling before batter: a greasy pan makes batter slip instead of grabbing, which creates uneven thickness.
- Covering to “cook faster”: it cooks, yes, but steam fights crispness; uncover for the last stretch.
- Stacking hot dosas: they steam each other; lay flat, ideally on a rack, until serving.
- Chasing perfect circles: focus on thinness and dryness; shape improves naturally with repetition.
When you may need extra help (or a different approach)
If your batter smells sharply alcoholic, turns very runny, or causes consistent stomach discomfort, it may be over-fermented or contaminated, and discarding can be the safer call. If you have dietary restrictions or medical concerns around fermented foods, it’s reasonable to check with a qualified clinician.
If you’ve tried multiple pans and adjustments and still get sticking, it’s often the pan surface rather than your technique. A dedicated dosa tawa or a fresh nonstick skillet can remove a lot of friction while you build confidence.
Conclusion: the repeatable path to thin, crisp dosa
If you take one thing from this, let it be this rhythm: tune batter to pourable, manage pan heat so spreading feels smooth, then cook until the center looks dry and edges lift on their own. Once that clicks, crispness stops feeling like a lucky accident.
Next time you cook, pick one variable to improve, either batter thickness or pan temperature, and keep everything else steady. That’s usually the fastest way to get thin, shattery dosa at home.
Key takeaways
- Pourable batter + controlled heat beats extra oil every time.
- Spread fast, then leave it alone until it releases.
- Don’t trap steam if you want crispness that lasts.
FAQ
How thin should dosa batter be for crispy dosa?
A good target is batter that pours in a steady ribbon and levels quickly, but still looks creamy, not watery. If it feels like pancake batter, it usually needs a little water.
Why does my dosa stick even on nonstick?
Often it’s heat timing, the pan can be too hot when you spread, so the batter grabs and tears. Try lowering heat briefly before each dosa and avoid pooling oil before pouring.
Do I need to flip a dosa to make it crispy?
For thin crispy dosa, many cooks don’t flip. Letting it cook longer on the first side dries it out and helps crispness; flipping can soften it if done early.
What oil is best for crispy dosa?
Neutral oils work well, and ghee adds flavor and browning. The “best” depends on taste and diet, but using a small amount at the right time matters more than the type.
How do restaurants get dosa so crispy?
Usually it’s a stable batter process, a well-conditioned tawa, and consistent heat control during service. At home, a dedicated pan and a repeatable routine get you close.
Can I make crispy dosa with store-bought batter?
Yes, in many cases. You may need to adjust thickness with a bit of water, and you’ll still need the right pan heat and cook time to drive off moisture.
How do I keep dosa crispy after cooking?
Avoid stacking, and don’t cover. If you must hold them, place in a single layer on a rack in a warm oven for a short time, watching so they don’t over-dry.
Is fermented dosa batter safe if it’s been out for hours?
Food safety can vary by temperature and time. According to USDA guidance on perishable foods, leaving batter out too long is risky, so refrigerating between batches is the safer habit.
If you’re trying to make dosas on a tight schedule, it helps to set up a simple station with a dedicated pan, a ladle, a small bowl of oil, and a consistency check so you can dial in how to make dosa crispy thin easy without guessing every round.