
Pizza dough is one of those kitchen basics that feels intimidating until you make it a couple times, then you realize most failures come from a few fixable details like yeast freshness, hydration, and timing.
If your dough tears, won’t stretch, or bakes up dense, it’s usually not because you “did it wrong,” it’s because the dough didn’t get enough fermentation time, the flour absorbed water differently than you expected, or the oven setup wasn’t pizza-friendly.
This guide keeps things practical, you’ll get a reliable base recipe, a couple easy variations, and a decision table for when you need dough fast versus when you want better flavor. I’ll also call out the small stuff people skip, because that’s where homemade pizza starts to taste like “real pizza.”
What makes homemade pizza dough “easy” (and what usually goes wrong)
Easy isn’t about cutting corners, it’s about removing guesswork. A beginner-friendly dough has clear measurements, forgiving timing, and a process that works even if your kitchen runs cool or your flour brand changes.
- Yeast confusion: active dry vs instant, both work, but the timing differs a bit and old yeast simply won’t rise well.
- Too much flour: the most common issue, dough looks sticky so people keep adding flour until it turns stiff, then the crust bakes up tight.
- Not enough rest: gluten needs time to relax, especially if you want stretching instead of rolling.
- Underpowered oven setup: home ovens vary, but you can still get great results with a preheated stone or steel and the right rack position.
According to the USDA, handwashing and clean surfaces matter most when handling ingredients like flour and yeast, and you should avoid cross-contamination with raw foods in the same prep area.
A reliable easy pizza dough base recipe (one dough, many uses)
This is the “weeknight-friendly” foundation. It’s not fussy, it browns well, and the texture lands in that chewy-but-not-tough zone most people want from homemade pizza.
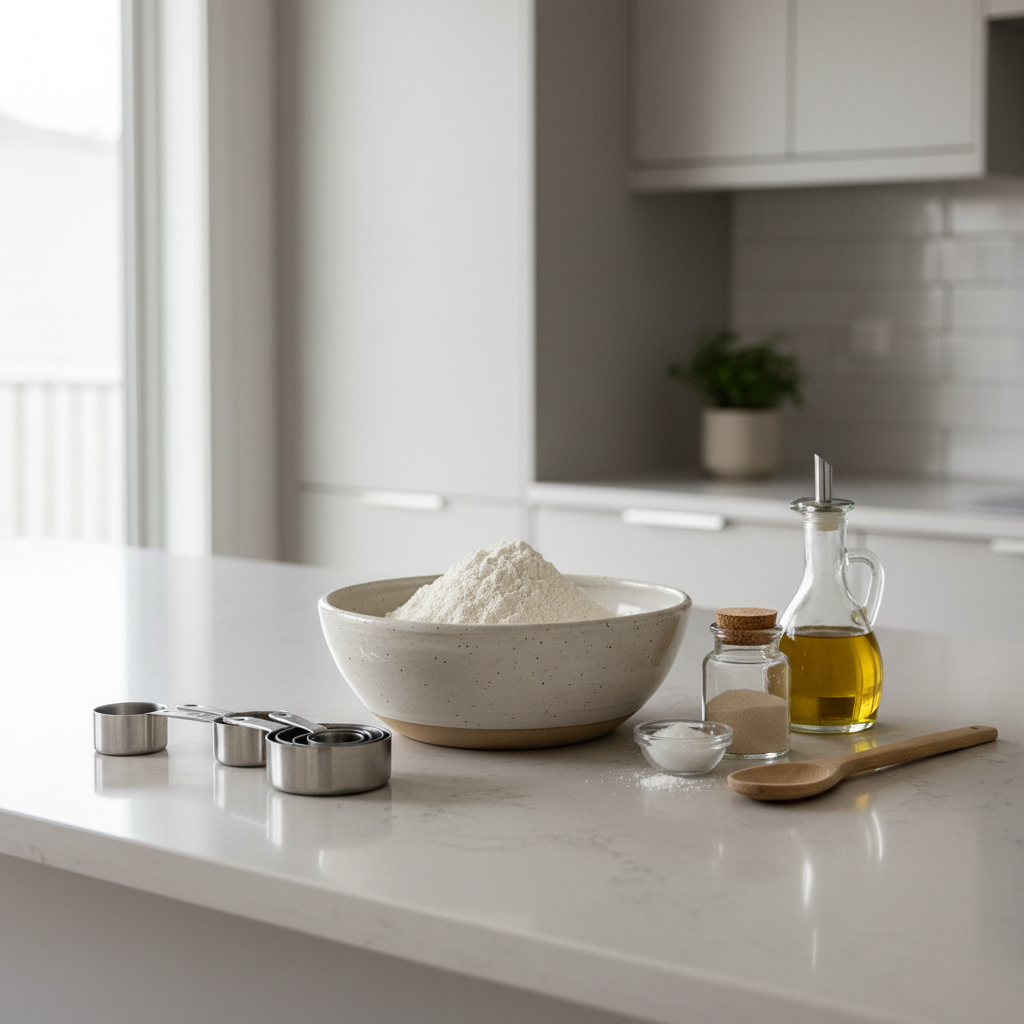
Ingredients (makes 2 medium pizzas)
- 3 1/2 cups (420g) all-purpose flour, plus a little for dusting
- 1 1/4 cups (295g) warm water, about 95–105°F
- 2 1/4 tsp (7g) instant yeast
- 2 tsp fine salt
- 1 tbsp olive oil (optional, helps tenderness)
- 1 tsp sugar or honey (optional, helps browning)
Method
- Mix flour, yeast, and salt in a large bowl. Add warm water and olive oil, stir until shaggy.
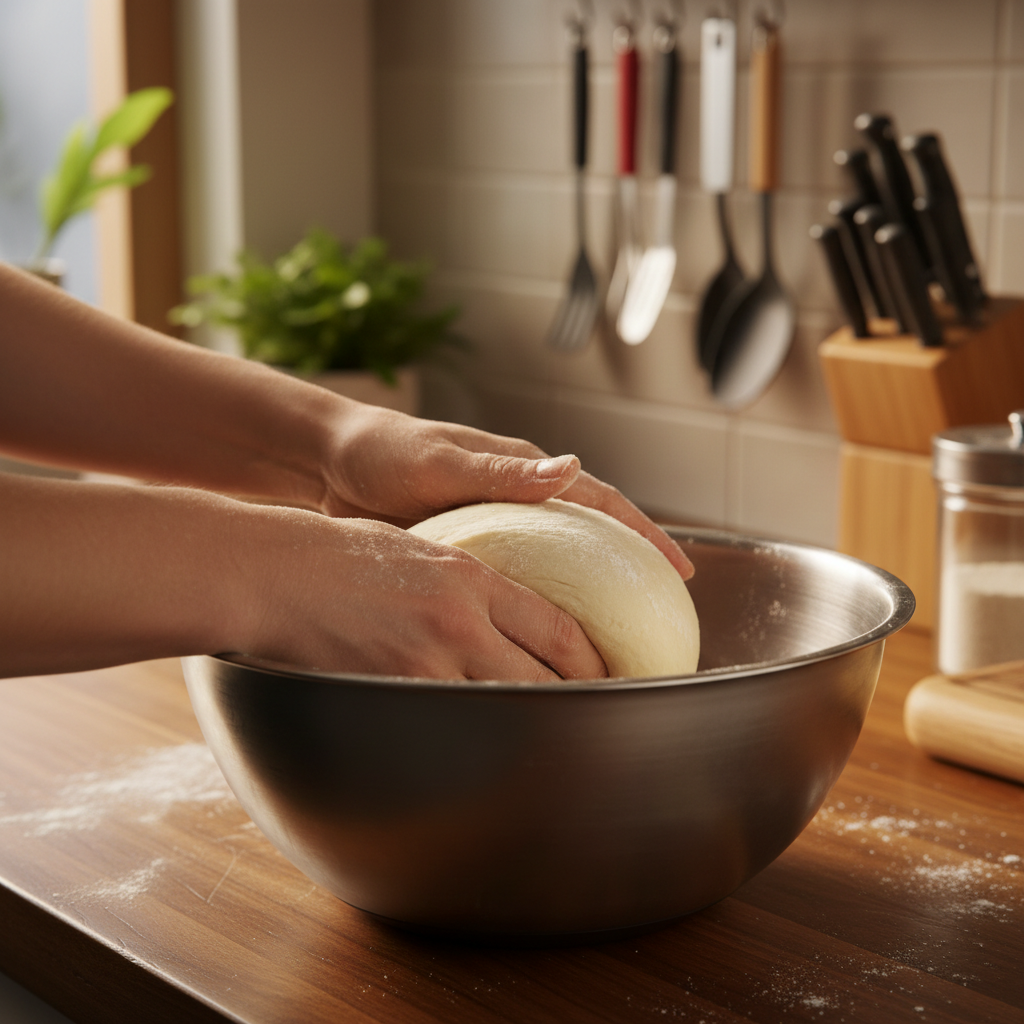
- Knead 5–8 minutes by hand (or 4–5 minutes in a stand mixer) until smoother and elastic.
- Cover and rise until puffy, typically 60–90 minutes at room temp.
- Divide into 2 balls, cover, rest 15–20 minutes so it stretches easily.
Key point: if the dough feels slightly tacky after kneading, that’s usually a good sign. It should release from your hands with a little flour, not feel dry like playdough.
Pick the right timeline: quick dough vs better flavor (table)
Most people don’t need “the one perfect recipe,” they need the right approach for tonight. Use this to match your schedule to the dough method.
| Goal | Method | Time | What you’ll notice |
|---|---|---|---|
| Fastest workable dough | Warm rise, a bit more yeast | 60–90 min | Milder flavor, still good texture if baked hot |
| Best all-around flavor | Cold ferment in fridge | 24–72 hrs | More airy edge, better browning, deeper taste |
| Make-ahead convenience | Par-bake crusts | Extra 10–12 min | Super fast pizza night, good for parties |
Two easy variations that cover most home pizzas
Once you have a dependable pizza dough base, small changes let you steer texture without learning a whole new process.
1) Same-day “quick rise” option
- Increase yeast to 2 1/2 tsp.
- Use water closer to 105°F, keep the bowl in a warm spot.
- Do a 10-minute rest after mixing before kneading, it makes the dough easier and faster to smooth out.
2) Cold-ferment option for better chew and flavor
- Use the base recipe yeast amount.
- After mixing and kneading, lightly oil the bowl, cover, refrigerate 24–72 hours.
- Pull dough out 1–2 hours before shaping so it warms and relaxes.
If your fridge runs very cold, the rise might look slow, that’s normal. You’re not only “inflating” the dough, you’re building flavor through fermentation.
Quick self-check: what your dough is telling you
Before you change the recipe, check the signals. Most fixes are small and save you from chasing random hacks.
- Dough won’t rise: yeast may be old, water may have been too hot, or the room may be cold. Give it more time in a warmer spot.
- Dough snaps back when stretching: it needs a longer bench rest, or it was overworked. Rest 15 minutes, try again.
- Dough tears easily: often under-kneaded or too dry. Next batch, hold back some flour and knead until elastic.
- Crust bakes pale: oven not hot enough, or stone/steel not preheated long enough. Sugar/honey can help browning, but heat is the main driver.
- Bottom soggy: too much sauce, wet toppings, or underbaked base. Preheat longer and bake lower in the oven.
Shaping and baking at home without stress
Most home ovens top out around 500–550°F, which is fine, you just need to set up for strong bottom heat. A preheated stone or steel makes a bigger difference than fancy flour in many kitchens.
Shaping (stretching, not fighting)
- Rest dough balls 15–20 minutes before shaping, covered, to relax gluten.
- Press from the center outward, leaving a slightly thicker rim.
- If it resists, stop and rest 10 minutes, forcing it usually leads to tearing.
Baking (a simple home-oven setup)
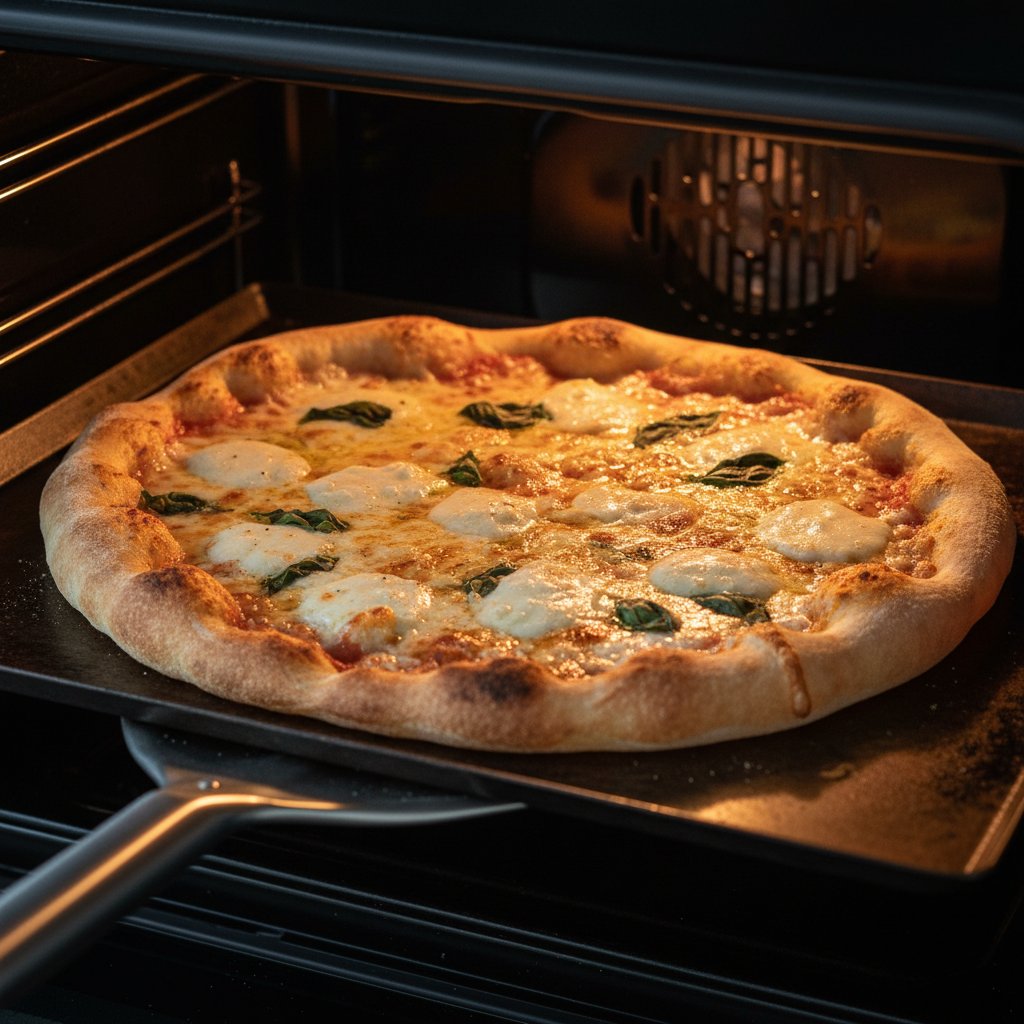
- Preheat oven to its max for 45–60 minutes with a stone/steel inside.
- Place stone/steel on the middle-lower rack for better bottom browning.
- Bake 7–12 minutes depending on thickness and toppings, rotate once if your oven has hot spots.
Common mistakes and small fixes that actually matter
People love complicated tips, but the wins usually come from a few basics done consistently.
- Measuring flour by scooping: it packs the cup and dries dough out. If you can, weigh flour, or at least spoon-and-level.
- Adding lots of bench flour: it keeps sticking, but it also toughens the outer layer. Use a light dusting and a bench scraper instead.
- Overloading toppings: too much sauce and wet veggies steam the crust. Cook mushrooms first, blot fresh mozzarella, go lighter than you think.
- Skipping salt: salt isn’t just flavor, it affects dough strength and fermentation speed.
And a small safety note: raw flour is not considered a ready-to-eat ingredient. According to the CDC, flour can carry harmful germs, so avoid tasting raw dough and keep your prep area clean.
When it’s worth getting help (or upgrading tools)
If you’ve tried a few batches and your pizza dough still behaves wildly different each time, it may be your environment. Humidity, flour protein, and water temperature all shift outcomes, and a tiny kitchen thermometer plus a $15 scale can remove most of that variability.
- If you bake pizza weekly, a pizza steel is often the most noticeable upgrade.
- If you have dietary needs (gluten-related conditions, sodium restriction), it’s smart to consult a qualified professional for ingredient swaps that still keep dough workable.
- If your kitchen stays cold, a proofing box helps, but a turned-off oven with the light on often works too.
Conclusion: a simple plan for better dough this week
Good homemade pizza comes from a few repeatable habits, not complicated tricks. Choose a timeline that matches your day, keep the dough slightly tacky, give it enough rest, and bake on a fully preheated surface.
If you want one action step that tends to pay off fast, do a 24-hour cold ferment once and compare it to same-day dough, the difference is usually obvious even with the same toppings. Then tweak from there.
FAQ
How do I know when pizza dough is kneaded enough?
It should feel smoother, stretchy, and a bit elastic. If it tears immediately when you pull a small piece, it likely needs a few more minutes and a short rest.
Can I use all-purpose flour for pizza dough?
Yes, and many home cooks prefer it because it’s forgiving. Bread flour can add chew, but it also absorbs a little more water, so hydration may need a small bump.
Why is my dough sticky even after kneading?
Some stickiness is normal, especially in higher-hydration doughs. If it’s truly batter-like, you may need a bit more flour, but add it in small amounts and give it a minute to absorb.
How long can I keep dough in the fridge?
Often 24–72 hours works well for flavor and handling. Past that, the dough can overproof depending on yeast amount and fridge temperature, so watch for collapsing or a strong alcohol smell.
Can I freeze pizza dough?
Usually yes. Freeze after the first rise as individual balls, lightly oiled and well wrapped. Thaw in the fridge overnight, then rest at room temp until relaxed before shaping.
What’s the easiest way to get a crisp bottom crust at home?
Preheat a stone or steel for a full 45–60 minutes and bake on a lower rack. Also keep toppings lighter, excess moisture is the enemy of crispness.
Do I need to add sugar to pizza dough?
Not always. A small amount can help browning in home ovens and can slightly speed fermentation, but great dough is still possible without it.
Why does my dough shrink when I stretch it?
That’s gluten tightening up. Cover it, wait 10–15 minutes, and come back. Resting is the simplest fix and works better than forcing it thinner.
If you’re trying to make pizza night more predictable, consider writing down just three things each batch: flour brand, dough rest time, and bake setup. If you need a more hands-off routine, prepping a couple dough balls on Sunday and doing a cold ferment can make weeknights feel a lot easier without changing your ingredient list.